We are so excited to be sharing this crafty project with you. It's completion signifies a handful of completed tasks for us. First of which is the project itself...which was definitely a true test of our patience...and not because the project was difficult...it wasn't...the hard part was not being able to sit down and tackle the project all at once. Our schedule was already full with work orders and we simply didn't have the luxury of being able to take a full day, or even a full hour to work on these. Instead, we chipped away, bit by bit, minutes here and there, over a week. But if any of you guys were thinking of doing these you could certainly tackle them over the course of a Saturday crafternoon. Below we provide a series of brief glimpses into our start-to-finish process, and we're thrilled with the end results. Hopefully these will inspire you guys to make some fab shadow box artwork of your own.
On another note...we're also so happy to be sharing this project with you because it indicates further progress on our kitchen re-do. We're actually at the stage where we're hammering nails in the wall and hanging up artwork! There's still a major step that isn't yet done on the walls, but we'll do it soon enough. You'll see below that the we painted a half-wall of tan. Well, right at the dividing line we'll be painting a sweet scallop border, which is gonna be the perfect finishing touch (it will resemble a smaller scale version of our studio walls). Can't wait to get it done!
I love decorating with my prized collections. And some of my favorite collectibles are these simple little things that weren't meant to be kept at all. Pretty things that were designed and produced to last only a day or two, like my vintage paper mache rabbit candy containers...in their day they were throw-away items.
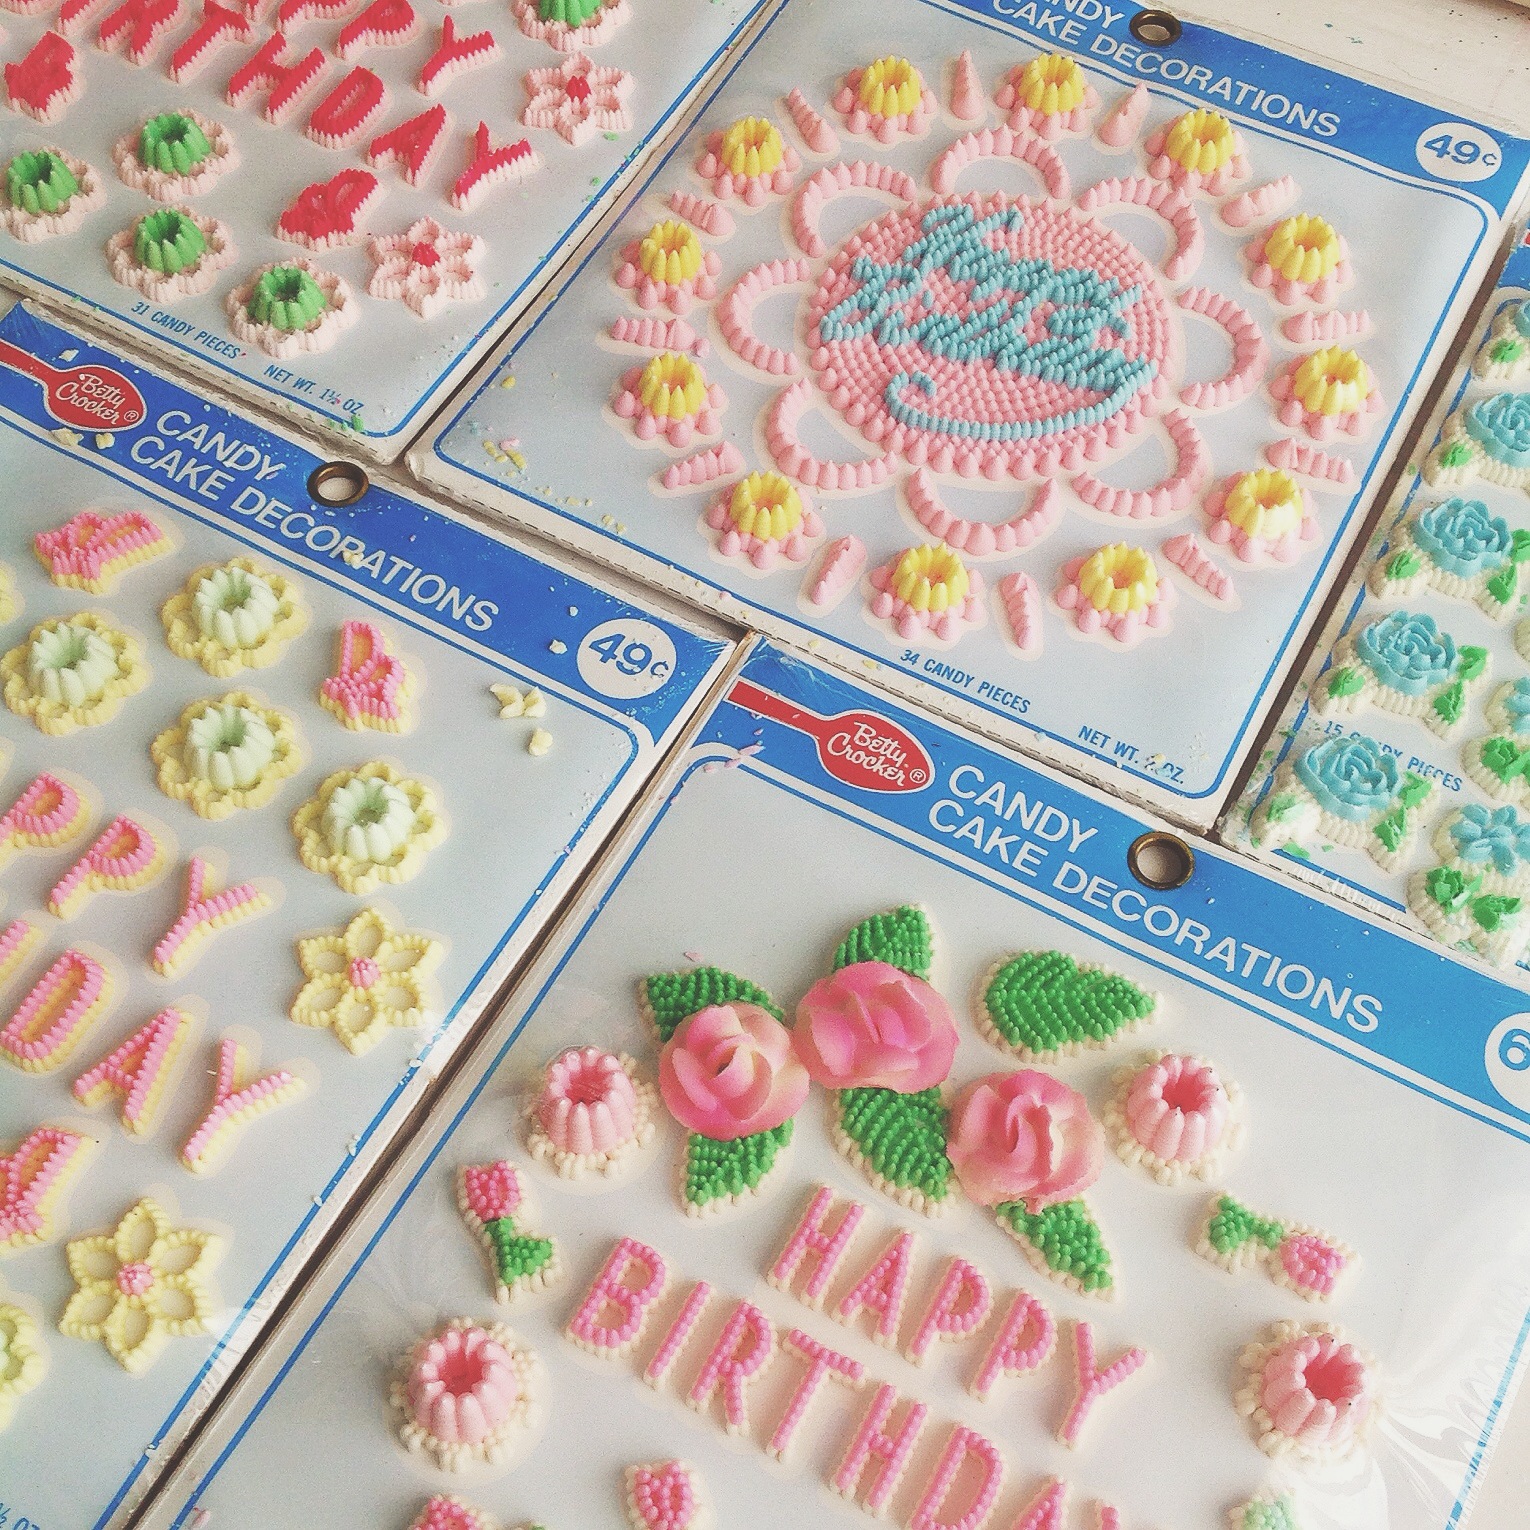
And you don't get more ephemeral than these vintage candy cake decorations. I mean jeez...they're edible! They're certainly not made to be kept for the long haul. I've been collecting them for quite a while and rarely do I come across some beauties that are still intact. They've got a tendency to crack and crumble...Fragile is an understatement! Some of mine happen to be over 35 years old! They still make these candy cake decorations today but it's hard to find designs that live up to the vintage ones. What's on the shelves are mostly character based designs...Dora the Explorer, Cars, stuff like that. And even the old fonts are so much prettier. But all hope isn't lost... I have seen a few classic looking motifs around the holidays in recent years. And there's always Ebay if you want to find treasures like the ones pictured in this post.
This may be my favorite of the group. It is so incredibly detailed, and the colors are just so happy and pretty!
This one is classic, I have a few exactly like it but in different color ways.
This piped basket is so fun isn't it? Lovely detail, and those big red roses are so pretty!
Oh jeez, now I'm thinking that maybe this one is my favorite. hmmm?
This may be my oldest. I love the packaging...down at the bottom, if you look closely, there is the little line-up of faces and the banner says "for young and old". The company is Gay-Gem
I love this pink package! It's the only Betty Crocker package with little illustrations. Why can't they all be pink? The royal blue just isn't my thing.
This football themed set is so classic and fun.
Look at the lines! They're so very detailed and delicate.
I also collect individual sugar flowers. This little box is one of my favorites!
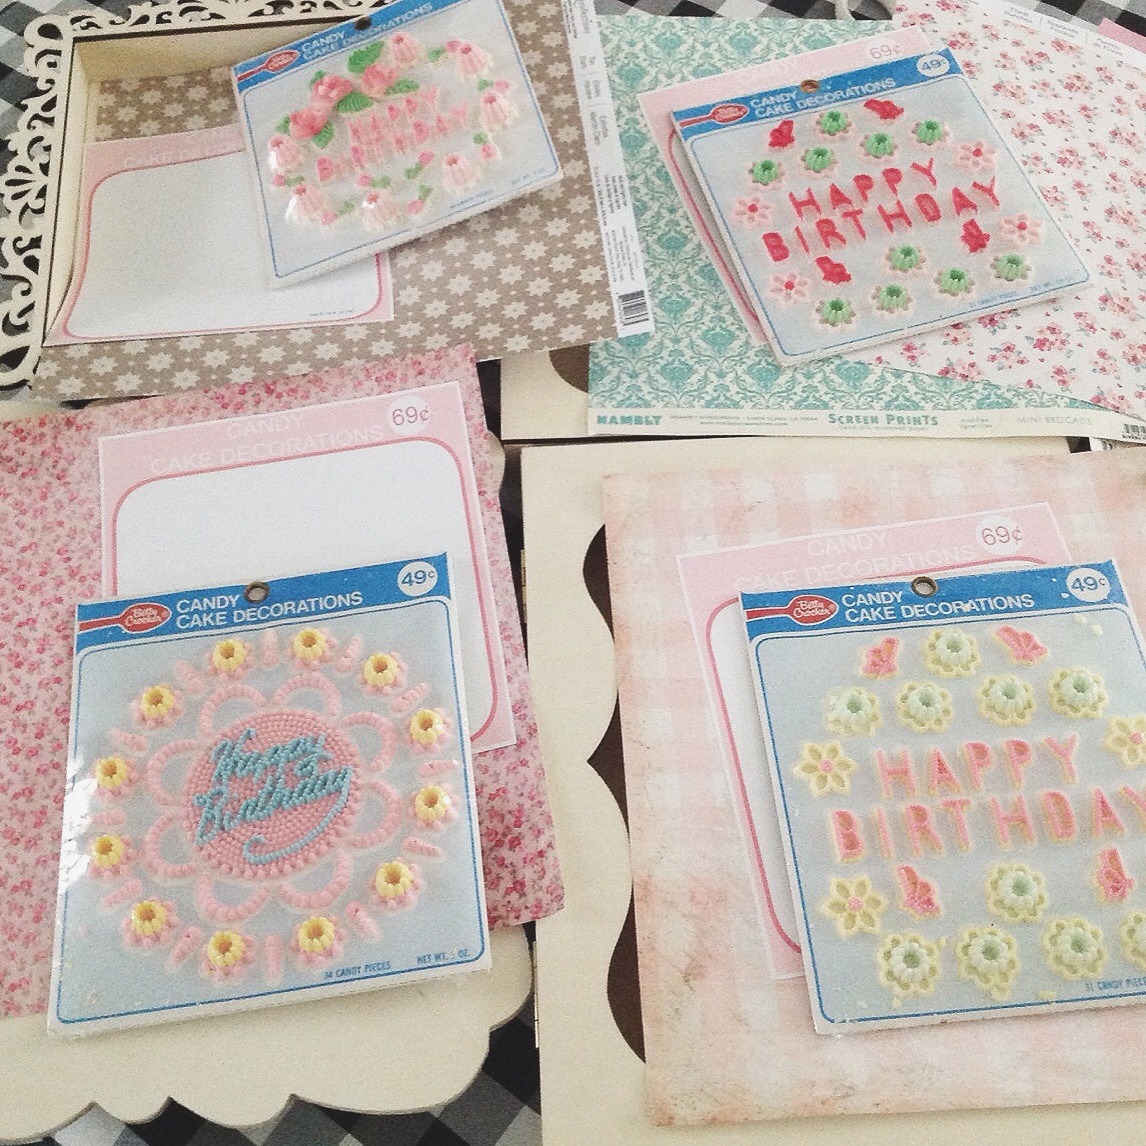
So this is how my little project was born. On a recent trip to Michaels, we came across these unfinished wood shadow boxes. We absolutely loved them. Each one had an even cuter shape than the next. So...upon seeing them, not only did I know that I just HAD to use them...I actually knew exactly WHAT I was going to use them for! My candy cake decorations!
Ok, so here's where the crazy side of me shows. As I mentioned above, the royal blue packaging just isn't my thing. So I had the idea to design my own simple packaging. It took about 20 minutes. I made them using PicMonkey. I wanted a simple generic old timey look. I guess the most important details to get right were the circle with the 69¢ and the NET WT. printed in the bottom corner. It's not like I was trying to make accurate counterfeits...I just wanted them to look semi-legit.
When I had the design right I then printed them out, mounted them to heavy mat board, sealed them with some matte mod podge, and then applied a light sepia wash to age them a bit.
For my shadow boxes I gathered some patterned papers.
And then played around with color combinations.
I would be applying crackle finish to one of the frames and the others were all going to be painted and distressed. In both of these cases it's good to first base coat the frames with darker under colors. Later, when they're distressed and crackled it will be the dark contrasting under color that shows through.
We love Texture Crackle by DecoArt. It's a spackle consistency. I used an old gift card to "frost" the frames with the Texture Crackle. And set it aside to dry.
When it dries the crackle magically appears. At that stage I then applied an antiquing wash, which was just a little bit of water mixed with dark umber acrylic paint.
So here you can see how the dark under color shows through once the frame is distressed. I also applied a bit of a white wash over the pink paint.
And on this frame I applied an antiquing wash after I distressed it.
This Happy Birthday sheet music paper had a great vintage feel and didn't need anything at all! I trimmed it to fit and adhered it with Mod Podge. The interior floral paper got a bit of a white wash though.
Our new packaging worked out great! Here's the thing, the old candy is actually glued right to the packaging, and being that it's so fragile it would be impossible to pull the candy off of the paper without the candy crumbling. So, I very carefully used a scissor and an xacto blade in tricky spots, to cut out the entire ring of candy, and then glued the old paper backing, minus the royal blue edge, to my new pink packaging. Then we slid them into clear cellophane bags and taped them tightly in back.
And to secure each package to their respective shadow box I used a hot glue gun. It worked perfectly!
We loved seeing them against the newly aged walls.
And here they are! Hanging on our new kitchen walls! We were able to hang a few other things today as well! And here you can see the dividing line where there will soon be a small scallop coming up from the tan...like in our studio. We'll have to chip away at that task over the next week or so.
Do you collect anything quirky? If so...maybe you should think inside the box for displaying them!
We'd love to hear about yours!
Thanks for popping in!
xo Jenny & Aaron


No comments:
Post a Comment