Showing posts with label diy. Show all posts

Saturday, 28 February 2015

itty bitty cakes made from antique candy molds


What are these you ask? They're antique candy molds that were sent to us by our sweet friend Lisa. Lisa collects some of the best ephemera and vintage bits, and she was kind enough to send these our way! To make use of them as candy molds you can press them into a tray of packed brown sugar, pull them out, and then fill the recess with melted chocolate or liquid candy and let cool. 


I totally love them as-is, and I'll be keeping the majority of the collection this way. But I had a few doubles of the same exact design and I thought they would look amazing if they were painted to resemble tiny cakes. 


Some are super elaborate, and these ones looked like tiny bundt cakes. So with acrylic craft paint I painted one a buttery yellow, and the other chocolate. 


To create the transparent glazes I mixed some paint with Liquitex Gloss Fluid Medium and some water until I achieved a consistency that would drip ever-so-slightly down the sides. 


And then just kinda dabbed the glaze around the top of the cake ring until it dripped.


Right away I had the idea to paint this one to resemble lady fingers topped with cherries.


I love how the crosshatch of golden cake peeks through the aqua glaze on this one. 


This is one of the fancier shapes. It was destined to be chocolate with a dark chocolate glaze. I love how the gloss of the glaze makes it stand out against the chocolate cake.


I think they turned out super cute! I can imagine turning them into brooches, or rings! 


What a perfect fit for our little cast iron chef!

This was a fun little project to work on while orders were drying today. I love projects that really only require a fraction of your attention. That way you can craft and make things while still accomplishing your daily work goals. I think I did them all in about 45 minutes while doing a bunch of other stuff at the same time. 

It's still super cold here in Jersey but Aaron and I have our hearts and minds set on thinking Spring. When those sunny warm days arrive we'll be waiting with open arms and hearts brimming with inspiration. We are really looking forward to making and debuting our 2015 Spring collection! 

Hope you are having a great weekend!
Love from the Jersey Shore!
xo, Jenny…and Aaron says hi! 

ps. Thanks SO much Lisa!!

Wednesday, 4 February 2015

Treetopia Valentine's Day Wreath Blog Hop and Giveaway!


I don't know if I've mentioned it lately, but we've been super duper busy. And despite that, we still jumped at the chance to participate when we were asked by our super talented friend Jennifer Perkins to be a part of this Valentine wreath blog hop sponsored by Treetopia. We just love all things Valentine's. It's one of our fave times of the year...one of the most visually appealing Holidays. And the whole concept of this blog hop is great. We got to have some fun with this giant pink wreath from Treetopia, and get crafty alongside a star studded lineup of super talented crafter/designers. And in the end, you readers will have FIVE chances to win a wreath like this of your own! 
So…we stole a few hours out of our busy schedule and made our Charlotte Sweetheart wreath.  


So, like I said, the wreath is giant! When it arrived we were like yowza! We had only seen a pic online of the wreath and we couldn't discern the actual size. When the box arrived and we slid the wreath out we were thrilled at the size. What a room maker it will be! 


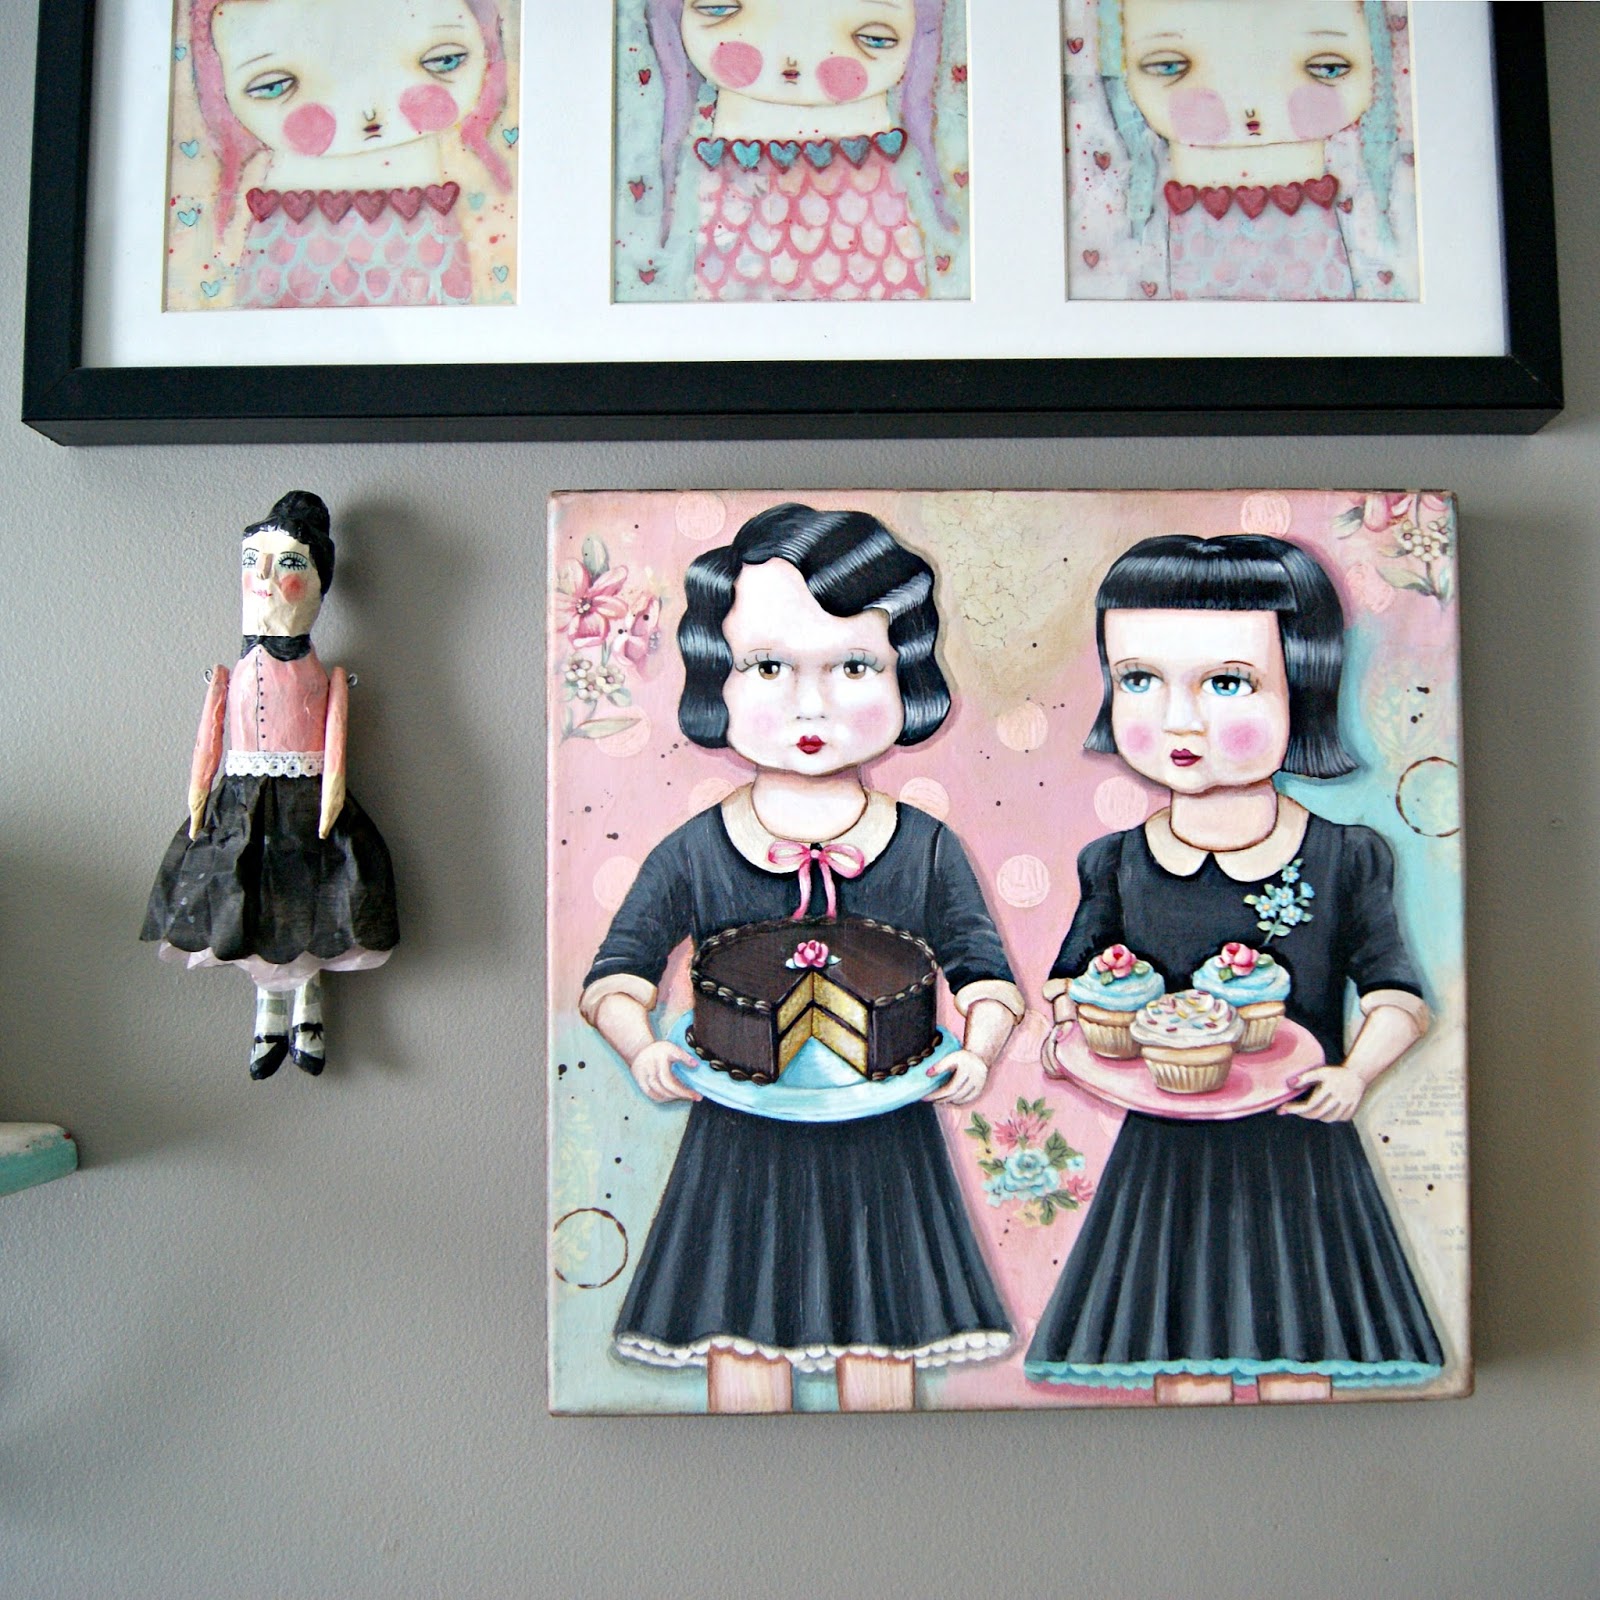
I immediately had the idea of the wreath acting as a frame for one of our wooden Charlotte plaques. She's our mascot and we love to see her sweet face up on our living room wall. 


We are big time sketchers. Pretty much everything we ever design starts with a crude pencil drawing like this. We'll just jot ideas on the paper and slide it back and forth across the table to each other.


Since we were going to have the matte black, chalkboard type elements, I grabbed these vintage wired pink balls and some other ornaments for pops of shiny color.


And then we started cutting out mat board hearts, and also added some glitter.


The arrow that we had sketched came together "in real life" fairly simply. We cut a wooden dowel to the right length, and then cut the arrow tip and end feathers from mat board. 


We painted all of the elements with gold acrylic paint, attached the tip and feathers to the dowel with hot glue. Then we glittered the tip and the end feathers. 


We love black! We always use it to balance our pastels and candy colors. And we love chalkboard art and lettering. So we decided to go with a black chalkboardesque banner to bear our wreath's "statement". 


The banner is cut from a cardboard box, and then we painted it with black acrylic craft paint. The lettering and line work is done in white acrylic paint. 


The first things we added to the wreath were the balls…some little pink ones, some slightly bigger pink, glittery gold, and a few white fluffy snowballs.


Our Charlotte plaque is actually hung right on the wall. To balance out the banner up top we added the arrow and the X O to the bottom portion of the wreath. And the big pink glitter heart was so so necessary. 
The X O and the black hearts were also just cut out of mat board, which we painted black and then decorated with sketchy chalk details.


We just added some bakery twine to the back of the banner and hung it on the top branches…this way we could always remove it and use it for something else. 

The whole wreath came together in just a few hours. It was really fun to do, and it looks so so fun hanging in our living room! 

We hope you guys enjoyed this little show and tell! We love the quality of this Pretty in Pink wreath. There are pre-lit wreaths & garlands available too! You can find them here

 Or, like I said up top...If you'd like a chance to win your very own wreath! Entering is super easy! You can enter below on this post, and also visit the other posts to check out their amazing creations, and enter on their posts as well! 

Tuesday: Crafty Chica
Wednesday: Amy Anderson
Thursday: Us! 
Friday: Vickie Howell 


And be sure to visit the Treetopia blog to continue the blog hop tomorrow!!

Happy Creating!
xo Jenny & Aaron

Sunday, 21 September 2014

Mixed Media Collage Necklace (using Jewel Pop elements)


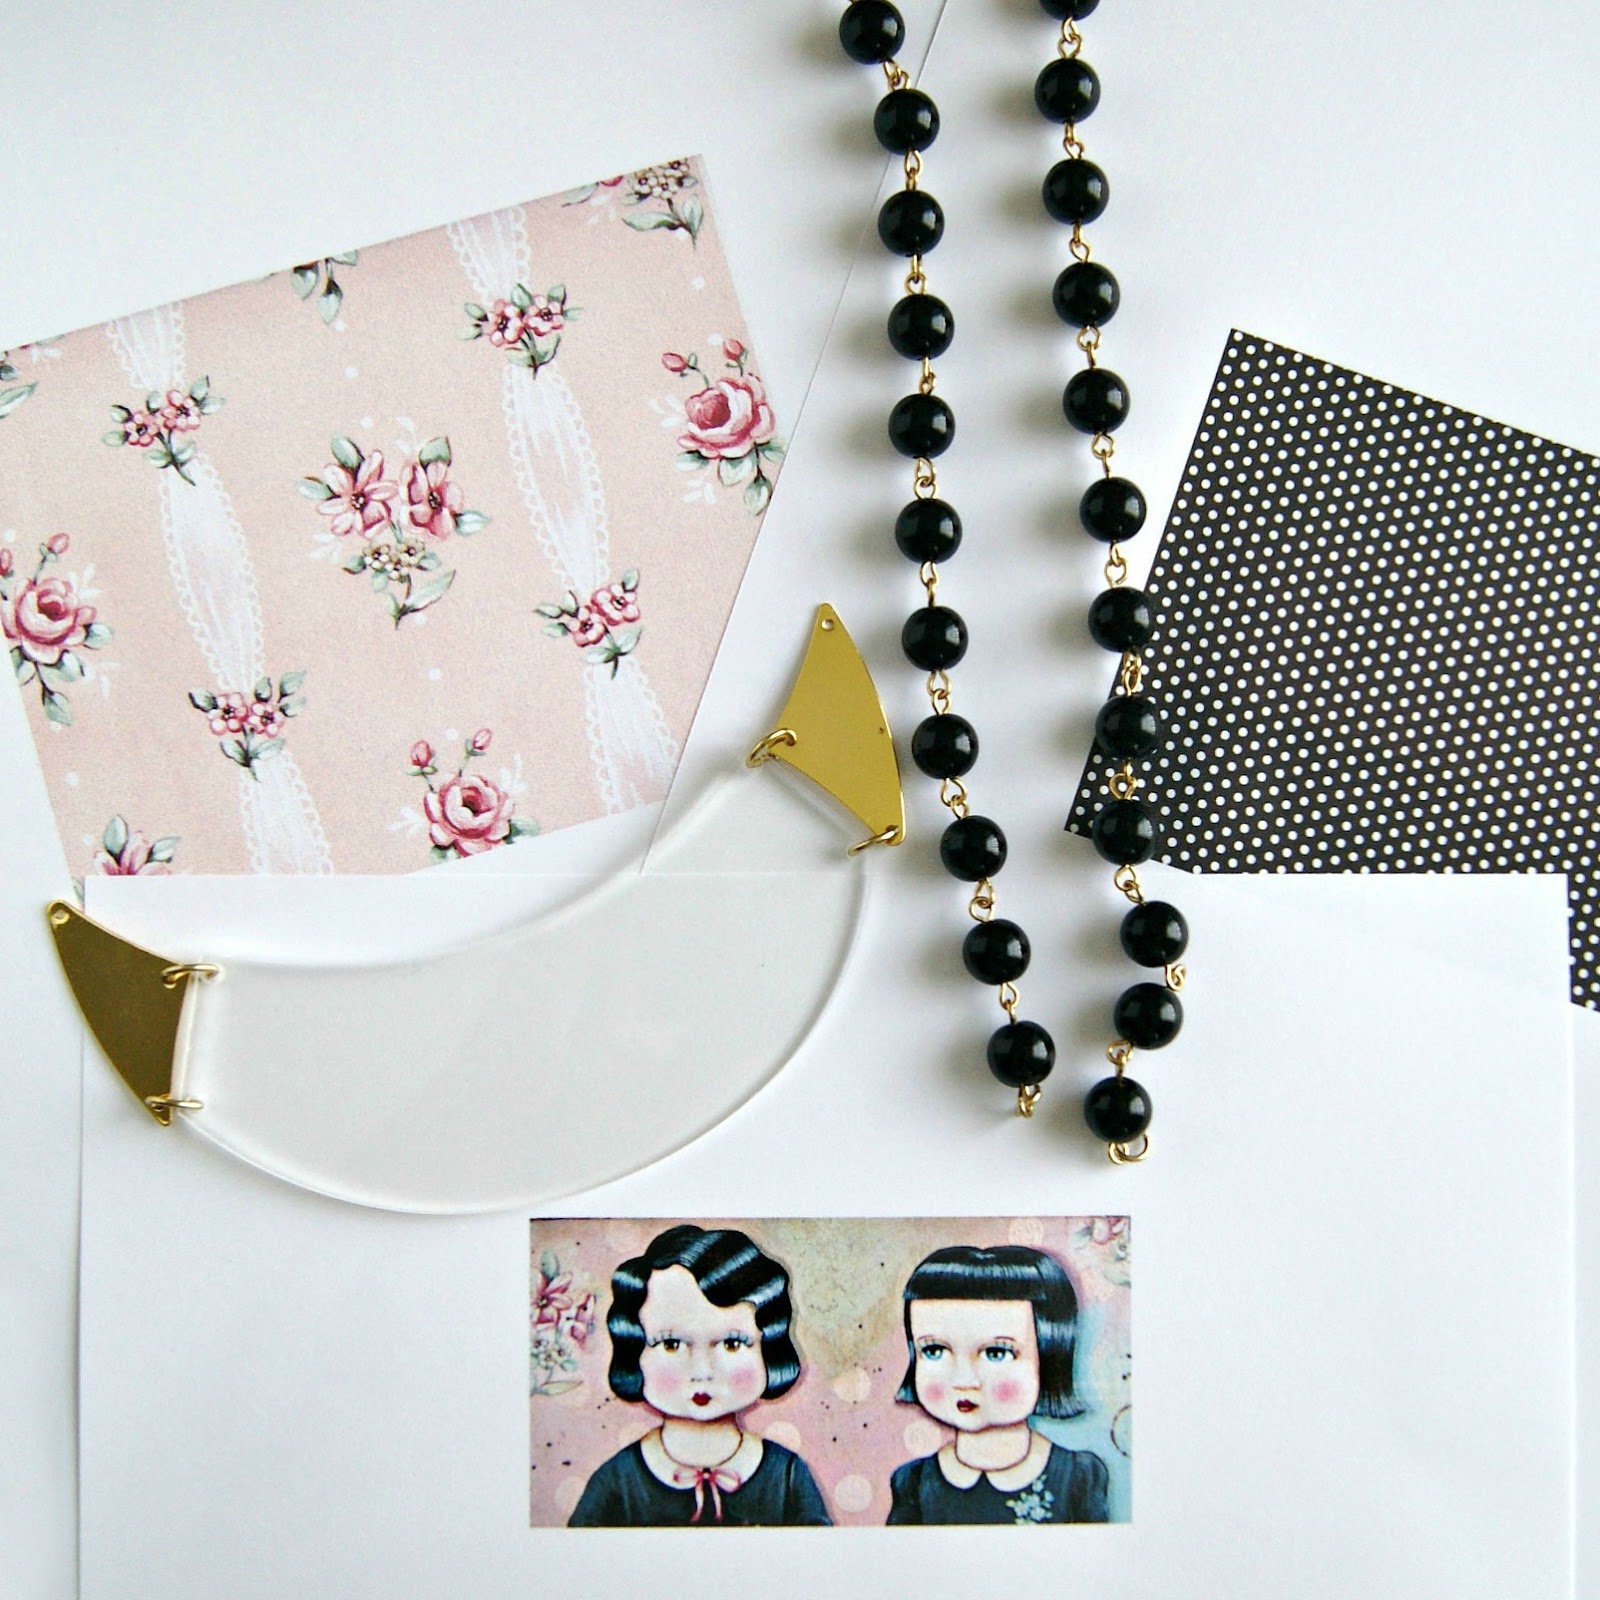
Recently our good friends Cathie & Steve sent us some samples of their brand new Jewel Pop Shop collection. Since we love so much of the collection, it wasn't easy to decide what elements to work with first. But right away I guess I was most drawn to the piece you see above. I just love the shape, and knew that I could create something great within that crescent. In our book we have a project called the Sweet Spot Necklace, and in it we use one of Cathie & Steve's Mod Podgeable necklace shapes. I love that particular project and I sorta had something similar in mind for this piece. This one will be assembled in pretty much the same way. The plastic crescent shape is also mod podgeable and we can adhere whatever imagery we want to the back of it with just a little bit of mod podge or other decoupage medium.


For the necklace in our book we used artwork that we had taken from a "Sweet Spot" of an Art Journal page. For this piece I used our Allie & Amy painting as a starting point. This is one of my fave paintings of ours and I'd love to have a wearable version of it. So, I just snapped a pic and then printed it out in a size that would fit the crescent shape.


These are the main elements. The black and white polka dot paper will be the accent pattern, and the pink floral is one of our own hand painted original patterns. I thought it would work as the perfect backdrop for Allie & Amy.


I cut out Allie & Amy, laid them on top of the pink floral paper, and placed the crescent shape over them to figure out the positioning of things.


Using the plastic piece as a template on the pink floral I traced the crescent shape and cut it out. Then positioned Allie & Amy where I wanted them and adhered them with some decoupage medium, and then brushed a top coat over it.


When the top coat dried I then brushed a slight antique wash around Allie & Amy and along the outer edge of the crescent.


I felt like it needed a pop of color, so I mixed up some aqua paint and used a small foam dauber to add some polka dots.


Next I traced black & white polka dot shapes to fit the gold end pieces.


I adhered the collage of Allie & Amy to the plastic crescent using some decoupage medium, adhering them face-up to the back of the crescent so that the plastic acts as a protective shield. When you adhere the paper to the plastic piece you should use a dry piece of paper towel to apply pressure to the back, thus rubbing out any air bubbles. When you look at the image through the plastic it may appear cloudy, but don't worry, it will dry clear. 
And I took a little extra care when adhering the polka dot paper to the gold end pieces. I first sanded the metal to scuff up the surface, and adhered the polka dot paper with Crafty Chica's Extreme Embellishment Glue. Then brushed over it with a topcoat of decoupage medium.


When all of the pieces were dry, I sanded off the excess paper around the edges.


I then used the same black & white polka dot for the back. I just traced and cut out the crescent shape and with decoupage medium I adhered it to the back to finish it off. Then added a top coat for protection. I sanded the excess paper here too.


Once it was dry I poked the holes through with a pushpin, and attached all of the necklace elements with the jump rings. 


I just love how easily it all came together. Maybe the hardest part is selecting your imagery. But once you've got that figured out, the rest is really pretty much cut & paste.


As you can see, I barely even scratched the surface with the Jewel Pop collection. I have so many ideas for future pieces of jewelry. If I find the time to make any, I'll definitely share the process with you guys. And a BIG Congrats to Cathie & Steve on a fabulous collection!

Thanks so much again for checking in! Hope you loved this little necklace project!
xo, Jenny…and Aaron says hi!


Sunday, 13 April 2014

Vintage Style Spun Cotton Easter Cupcake Toppers


This is a super cute and very easy tutorial for all of you who love Vintage Easter collectibles and cupcakes! I'm thinking I just roped in a sizable audience with that opener. 
Homemade toppers are great, because even if you're not a baker, you can take a handful of bakery bought cupcakes and make them all your own by popping these in. Me and Aaron made these in an afternoon with very few supplies. We modeled them after some of our favorite collectibles.


And these here are just some of my favorite vintage toppers. They were a gift from a dear friend. I love the packaging! And yes, they were never opened. 


These right here are what we modeled ours after. The chicks crack me up. They actually have bangs! They look like surfers or skaters. 


We were so thrilled to find these spun cotton balls. They're exactly what we needed. They're from a great company called Spunnys. And I can't say enough about Nicolas at Spunnys...what great customer service, and fast shipping, and great prices too. I know we will be using Spunnys for lots of projects in the future. And the mullberry paper flowers are from Mullberry Bear, which has a great selection! 

Here is what you will need:
 Spun cotton balls (30mm)
Mullberry paper flowers (1 3/4")
party picks or toothpicks
assorted patterned papers
heavy duty crepe paper (or patterned paper)
all purpose glue
acrylic paint
ultra fine tip sharpie
pencil
scissors
xacto knife
paint brushes
circle paper punch 
1 white or yellow feather


We had a styrofoam food tray that worked perfectly as a place to keep our toppers while working. We just turned it upside down, and poked holes. First thing we did was to paint our balls with acryclic paint. We chose a pale yellow for the chicks and a creamy white for the bunnies. Once they were dry we drew the faces. First with pencil so that there would be guidelines for our sharpie. Tip: drawing on flat acrylic paint will dry up the tip of the sharpie, so keep a piece of scrap paper handy so that you can periodically scribble to get the ink flowing again.


Next we drew some ears on crepe paper, and some beaks on chipboard. (notice the beaks have two points...one of the points will stick into the spun cotton ball). We used the chipboard as is, no need to paint it. The ears we drew as one shape, rather than two separate ears. The part where the two ears meet will fit into a slot on the spun cotton ball. Cut out your ears and beaks and set aside. 


Next, using a sharp xacto knife we made slices for our ears and beaks. Be very careful here...you just want to poke the blade in and gently wiggle it to give enough space for the ears and beaks to slide in.


Now slide your ears and beaks into their respective slots. It takes a little work to get them in just right. Once they're in, using a detail brush, add a thin line of glue along the front and back to secure them. We love Aleene's because it dries fast, and clear!


Next up are the little "outfits". For your chick hats, cut out circles, then cut the circle in half, roll into a hat shape and glue the end to keep it in place.


For the collars, punch circles from patterned papers and pair them with contrasting colored paper flowers. And if you are giving your chicks the funny bangs you will need a white or yellow feather.


Cut a tiny bundle of feather and glue it inside the front of your hat. Then glue the hats onto the chicks.


Now poke holes in the centers of your flowers and paper circles and glue them together. Then push the doubled collar up the pick and glue to the ball. 
And you are finished!


Since we wanted a forever spot for these toppers we made some faux cupcakes from air dry clay. They're painted pink and creamy white,  and the tops are sprinkled with clear crystal glitter.


We hope you enjoyed this little tutorial! Now tht we've made these you can bet we will be making little characters for all seasons and holidays! If you make some of your own, we'd love to see pics! Thanks for joining us! 


If you enjoyed this tutorial you may love our book!

Happy Spring & Easter!
xo Jenny & Aaron