Showing posts with label tutorial. Show all posts

Sunday, 4 January 2015

Faux Cake Mixed Media Shadowbox tutorial (CJS 2015)


Hey guys! Just popping in today to remind you about Creative JumpStart 2015! We blogged about it a few weeks ago, but we wanted to share it again today for any of you guys who haven't signed up yet. It is certainly not too late to join in on the creative fun. Throughout January a new artist's video will be added each day. Just this morning ours went live, and we're so excited to see the viewer response!

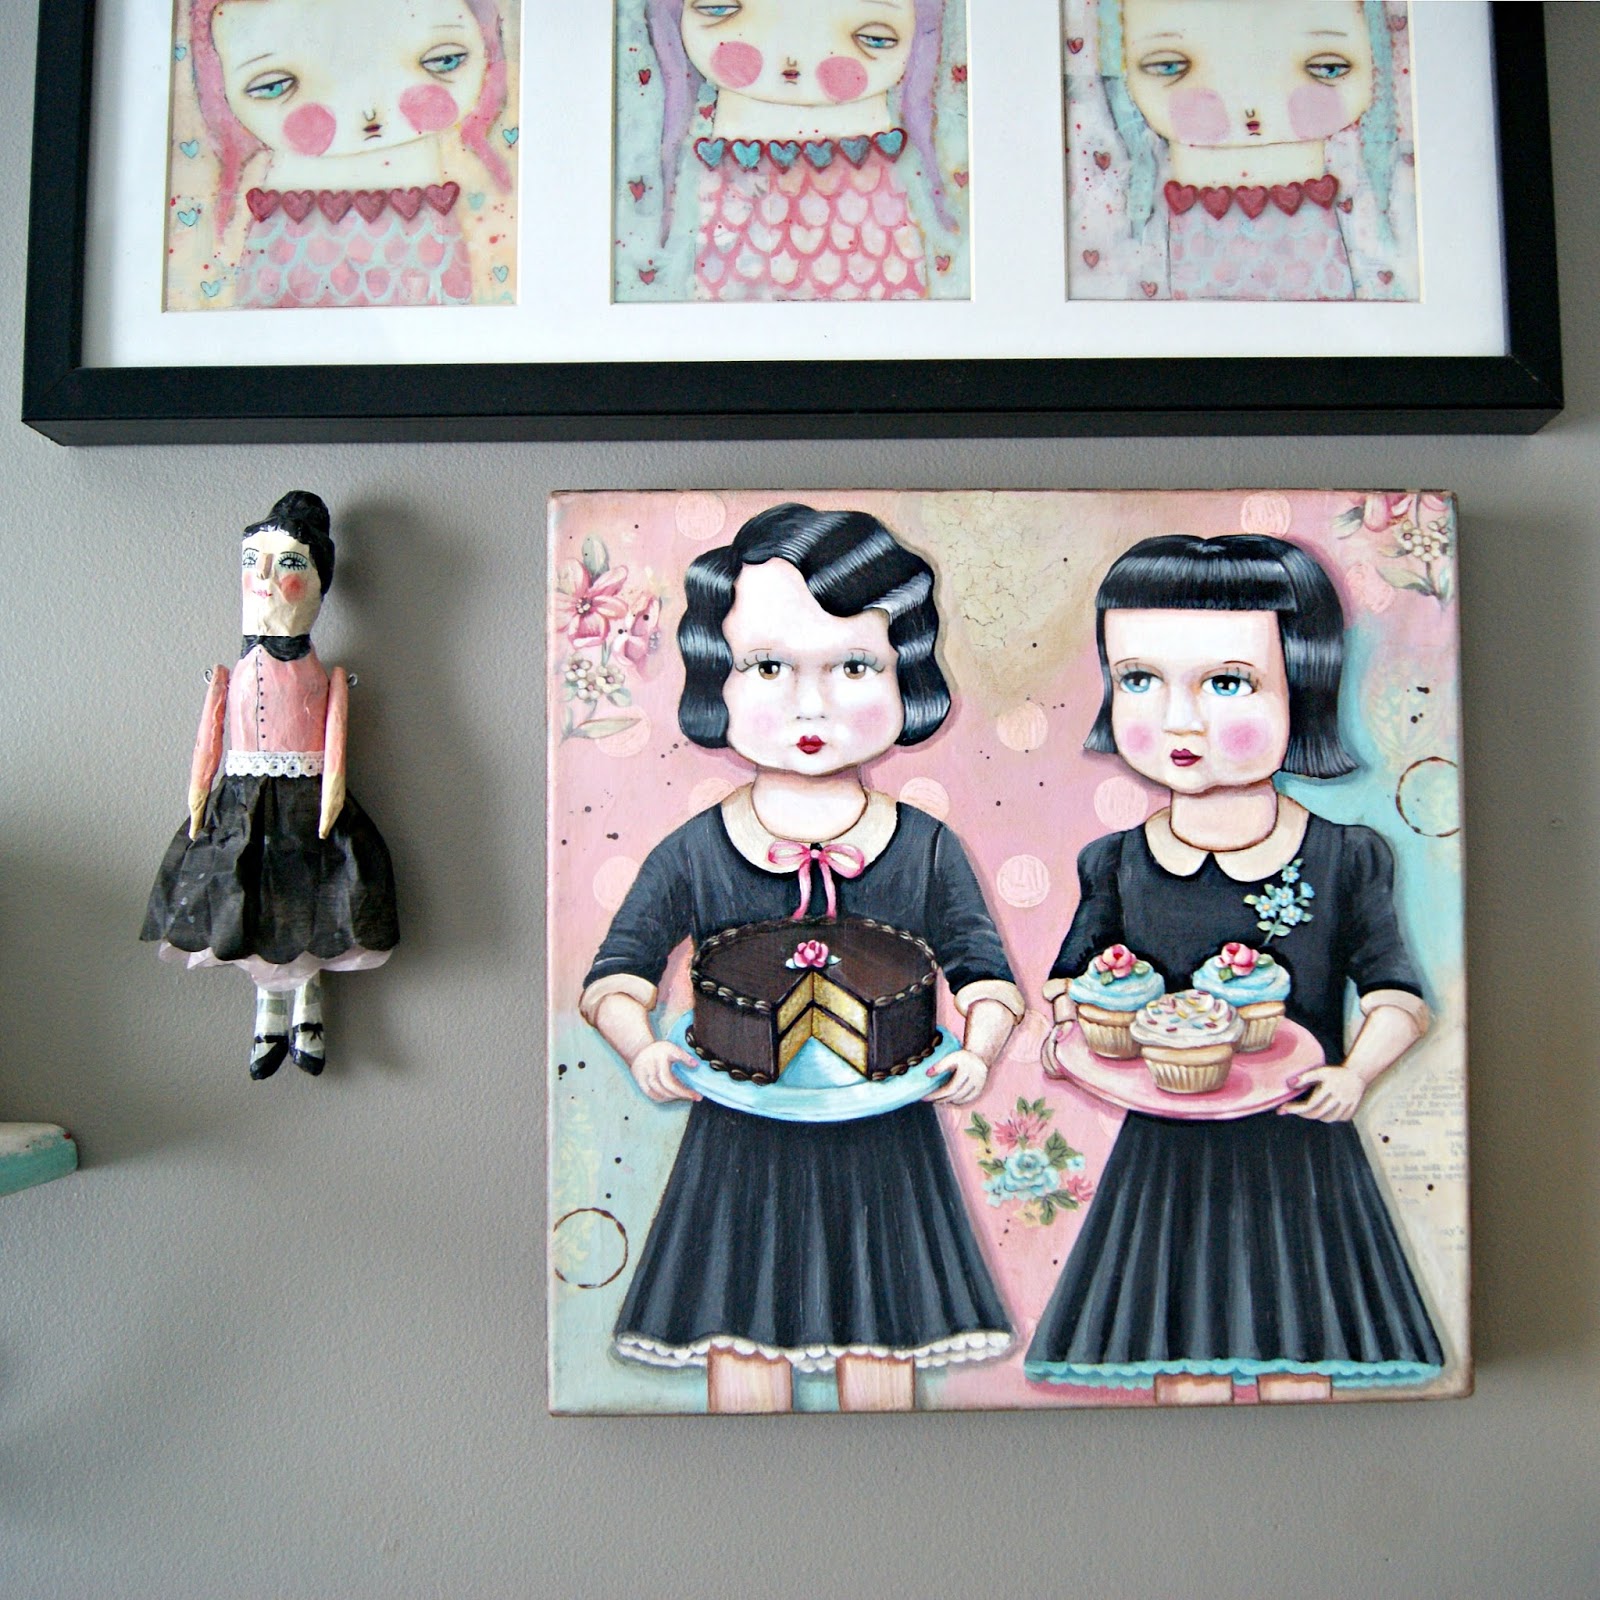
 We are teaching you how to make this super fun, ready to hang, mixed media cake slice shadow box from start to finish!


This is a screen shot of our incredibly derpy intro, featuring an overly excited Jenny, and a robotic Aaron.
Truth be told, we are both mega camera shy, and this was like our 10th take. We were about to just throw in the towel, but then we just said "whatevs!" and settled on this awesomely awkward one. HA! 


This year's CJS has a stellar lineup of artists and so far we are blown away by the videos we have seen…and we're only 4 days in! It's sponsored by Liquitex, so you'll be seeing lots of awesome products in action. So far we've seen a mixed media canvas being painted and collaged, tons of great art journaling techniques, a video showing you how to make your own stencils from a photograph, and for ours we decided to make a project-driven video. We made a step by step video showing you exactly how to make your very own mixed media cake slice shadow box. But we also made sure to do a project that uses mediums and techniques that can be used in lots of other types of projects.


And again, for the super low cost of admission, you not only get our video, you get videos all month long from 23 of the best mixed media instructors from around the world! And you'll have access to the videos for an entire year! 
And Creative Jumpstart is a community event. You'll find a wealth of info just from reading through the comment sections below each video. And you can join in the artsy conversations, ask questions, share info about your own work...

We hope you'll join us! It's only Day 4 and we are already having so much fun!!

Sign up here!

xo Jenny & Aaron


Tuesday, 23 September 2014

Eat More Cake Art Journal Spread


I find Art Journaling to be such a break from the everyday work. In our "real" work everything has to be so perfect. And I feel like Art Journaling is the opposite of that. It's a chance to be haphazard and messy. It had been a long few days of making, packing & shipping, and while the clear coat on a bunch of die cuts was drying I found some time to play around in one of my Art Journals. This is one of my smaller Moleskine journals and it's nearly filled up. This is one of the basic Molskines with the very thin pages. Prior to doing this spread I had went ahead and bolstered most of the pages with extra layers of paper and paint. Me and Aaron each have several Art Journals and jump back and forth between all of them.


Many times with me, an Art Journal page or spread begins with a vague idea that's related to a certain image or piece of ephemera that I'd like to use. In this case, it was this birthday cake image I had cut out from a piece of vintage wrapping paper. Everything about this image makes me swoon! I just had to use it. So I started the page by painting simple oval shapes in pink and cream, and then pieced in some pink and cream stripe paper. A lot of times when I'm doing a spread, meaning two pages, I like to make the pages mirror each other in some way. Sometimes I do one full composition that spreads across the two pages. But here I wanted it to be two separate pages that fit together perfectly.


Then I did some sketchy colored pencil outlines around the ovals, and added some paint spatters. Like I said…haphazard and messy is what I'm about when it comes to Art Journaling.


Besides the cake, I felt like the spread needed a muse. A face to be the spokesperson. And who better than this little chubby faced doll. I love using my collections in my spreads without actually "using" my collections. I just snapped a pretty close and clear photo of the cutie and printed her out.


I then glued her in with some decoupage medium. And from that same piece of vintage wrapping paper I cut out the corresponding slice of birthday cake and put it in her hand. I didn't want the page to be all pale color, so I then added some bright berry pink polkadots with a dauber, some Sharpie pen doodles, and bit of bright aqua paint details.


I knew I needed washi tape somewhere on the spread. I always need washi tape!


I selected my washi tapes and then pulled out my vintage printers tray full of all my bits and pieces.


Last week I had made these tags using my fave Ashley G stamps. I def wanted to use one of these!


I love how well black compliments pretty pastels. I added some more sketchy details with my Sharpie and also a bunch of stamped flourishes. I remember when flourishes were all the rage. I've got tons! I wish I knew who made these. I don't have the original packaging, and I doubt they make these anymore.


So I taped in my cute girl tag with a bit of metallic gold striped washi. I love how it compliments her gold glittered skirt.


I used some fairly crude handwriting skills to render these letters and cut them out of aqua polk dot paper. I adhered them to the page but then felt that they needed to pop a bit more. So I added a drop shadow with some tan paint, and used my sharpie pen to add "stitching".


I glued in some pink sequins for a bit of shimmer.


And while I was in shimmer mode I figured I'd add some glitter. I keep my most used glitters in this adorable chicken wire wall rack.


I added some ultra fine gold glitter to the candle flames.


Just wanted to share some of my Art Journaling with you guys. I plan on sharing a bunch more…I had been Art Journal all this time but I wasn't taking the time to take in progress photos. I'll try to do this a lot more. And yes…I 100% believe that we should all Eat More Cake.


Not so much that we blow up like a paint and paper filled Art Journal…but you know what I mean. :) I still get a kick out of watching a new moleskine go from the skinny guy on the bottom to the chubby colorful guy on top. 

Thanks for reading! And Happy Art Journaling to you!

xo, Jenny…and Aaron says hi!

Sunday, 21 September 2014

Mixed Media Collage Necklace (using Jewel Pop elements)


Recently our good friends Cathie & Steve sent us some samples of their brand new Jewel Pop Shop collection. Since we love so much of the collection, it wasn't easy to decide what elements to work with first. But right away I guess I was most drawn to the piece you see above. I just love the shape, and knew that I could create something great within that crescent. In our book we have a project called the Sweet Spot Necklace, and in it we use one of Cathie & Steve's Mod Podgeable necklace shapes. I love that particular project and I sorta had something similar in mind for this piece. This one will be assembled in pretty much the same way. The plastic crescent shape is also mod podgeable and we can adhere whatever imagery we want to the back of it with just a little bit of mod podge or other decoupage medium.


For the necklace in our book we used artwork that we had taken from a "Sweet Spot" of an Art Journal page. For this piece I used our Allie & Amy painting as a starting point. This is one of my fave paintings of ours and I'd love to have a wearable version of it. So, I just snapped a pic and then printed it out in a size that would fit the crescent shape.


These are the main elements. The black and white polka dot paper will be the accent pattern, and the pink floral is one of our own hand painted original patterns. I thought it would work as the perfect backdrop for Allie & Amy.


I cut out Allie & Amy, laid them on top of the pink floral paper, and placed the crescent shape over them to figure out the positioning of things.


Using the plastic piece as a template on the pink floral I traced the crescent shape and cut it out. Then positioned Allie & Amy where I wanted them and adhered them with some decoupage medium, and then brushed a top coat over it.


When the top coat dried I then brushed a slight antique wash around Allie & Amy and along the outer edge of the crescent.


I felt like it needed a pop of color, so I mixed up some aqua paint and used a small foam dauber to add some polka dots.


Next I traced black & white polka dot shapes to fit the gold end pieces.


I adhered the collage of Allie & Amy to the plastic crescent using some decoupage medium, adhering them face-up to the back of the crescent so that the plastic acts as a protective shield. When you adhere the paper to the plastic piece you should use a dry piece of paper towel to apply pressure to the back, thus rubbing out any air bubbles. When you look at the image through the plastic it may appear cloudy, but don't worry, it will dry clear. 
And I took a little extra care when adhering the polka dot paper to the gold end pieces. I first sanded the metal to scuff up the surface, and adhered the polka dot paper with Crafty Chica's Extreme Embellishment Glue. Then brushed over it with a topcoat of decoupage medium.


When all of the pieces were dry, I sanded off the excess paper around the edges.


I then used the same black & white polka dot for the back. I just traced and cut out the crescent shape and with decoupage medium I adhered it to the back to finish it off. Then added a top coat for protection. I sanded the excess paper here too.


Once it was dry I poked the holes through with a pushpin, and attached all of the necklace elements with the jump rings. 


I just love how easily it all came together. Maybe the hardest part is selecting your imagery. But once you've got that figured out, the rest is really pretty much cut & paste.


As you can see, I barely even scratched the surface with the Jewel Pop collection. I have so many ideas for future pieces of jewelry. If I find the time to make any, I'll definitely share the process with you guys. And a BIG Congrats to Cathie & Steve on a fabulous collection!

Thanks so much again for checking in! Hope you loved this little necklace project!
xo, Jenny…and Aaron says hi!


Monday, 15 September 2014

Super cute and easy light shades made with baking cups, ribbons, lace, and trims


I Love vintage trims. It's pretty hard for me to pass them up at flea markets or yard sales or on ebay if the color or price is right. I've been collecting trims for years, without any real plans for them. I love having them in jars and boxes in the studio, keeping them on hand for when I may need a tiny bit for a project. I use them in collages, art journal pages, mixed media assemblages like our Fauxbulus Keepsake Cakes. Vintage trims just make the perfect finishing touch!


Back in 2010, I was asked by Romantic Homes Magazine to contribute a cute and easy holiday craft for their "Make it" column.  I was then, and remain to this day an absolute sucker for twinkle lights around our home. And not just for holidays, but year round. And as I said above, I am also a collector (or hoarder) of vintage trims and ribbons...which I'm sure you are too.
This is an easy, fast, and lets just say it...cheap...little afternoon craft. We've always got a strand of these decorative lights hanging in our home and I smile very time I see them. I've made them for Christmas, Autumn, and my favorite just might be the set I did for Valentine's Day. 

 We had them hanging here in our home in our kitchen, but when we started to paint and work on things here in the house I had put them away and forgot about them. Then just the other day while organizing I pulled them out. I decided to make a few more "shades" for the strand, and why not take some pics and share the simple little tutorial with you guys, being that we have a bunch of new readers since 2010.


These lights couldn't be more simple. And it's a way of having your prettiest trims on display. Plus, there is no sewing. I can't sew yet I still love trims for different mixed media projects. So this project is perfect! 

Here is what you will need: 
Small strand of Christmas lights (you can find these in the wedding aisle at Michael's)
Large size plain white baking/treat cups (found in the baking aisle at Michael's)
Bits of ribbons, lace, and trims
Glue Gun or All-purpose glue (like Aleene's)
Scissors
X-Acto knife


It's so easy. Just cut desired ribbon and trim to match the circumference of the treat cup. Then apply them to the cup, gluing about every inch or so and pressing down to adhere, securing well at the seam. You may want to use the end of a pencil to press down, hot glue is…hot! 


Be creative...for instance, first apply a lace layer, and maybe some pom pom or some rick rack on top of the lace...making sure that you line up all of your seams so that you can later twist the shade so that the seam line is in back. 


Once the shades are decorated use an X-Acto knife to cut a small X in the center of each cup bottom for the light bulb to fit through. 


Then pop shades over the bulbs, pushing through until the plastic base emerges through the X.


These are a great way to bring not only light, but also some fab color and texture to a vignette in your home. These short strands of lights are perfect for draping over a single window or doorway. All you need are some of your favorite trims, ribbons, bits of vintage lace and rick rack. And with a little glue you can make ordinary treat cups into fabulous little light shades!

I hope you give these a try...and if you do...I'd love to see yours!

xo, Jenny 


Thursday, 14 August 2014

Fast & Fun DIY vintage mini play food box garland…with FREE printable!


We are so so excited to share this free little do-it-yourself download with you guys!

 As you know, we are avid collectors of all things vintage kitchen/bakery. When we came across this collection of mini vintage Junior Chef mix boxes from the late 50s or early 60s, we swooned! First off, they're toy/play size! Little boxes made for kids who wanted to play kitchen. I LOVE stuff like this. When I look at these boxes I can clearly recall one of my all time favorite things from childhood. It was a cardboard "grocery store"…it had shelves stocked with groceries, and a checkout complete with cash register. On the shelves were faux food items and stuff like that…tooth paste, laundry detergent, cereal, and cake mixes, very much like these mini boxes. And the fact that the set was merely cardboard made it even more magical. Me and my sister absolutely loved playing "grocery store". I swear, just the act of filling our little play cart, and checking out at the register, provided hours and hours of fun.

So, when me and Aaron got our hands on this collection we couldn't believe how perfectly the pastel tones and fun imagery fit our home. And the mini boxes looked so great when they were all together in a group. So we devised a cute, fun, and super easy way to display them together. A garland of mini boxes! We simply strung a length of classic bakers twine through all of the lids of the boxes, spaced them out evenly, and hung them like a bunting. No, not just a bunting…more like The Cutest Bunting of All Time! 


So, here's where the real fun comes in! When we posted the above pic on Instagram, we immediately got so many requests. Everyone asked if we were going to be making these and selling them in our shop. And then our friend Heidi took it a step further and said that she could help us make that idea into a reality. Heidi is an Uber Talent…she can do anything really. She's the gal behind MyPaperCrane. To list her accolades and fabulous lines of licensed products would take up way too much space. Let me just say that if you think you aren't familiar with her work…think again. I bet you've seen her stuff. Her plush pieces are amazing…her fabric patterns are incredible…and she's just all around crafty. 
So, Heidi wanted to make reproductions of the boxes for her own personal crafty fun. So I scanned my set of boxes and emailed her the images. Within a few days she sent me the below templates! They are totally ready to print, cut out, and turn into mini boxes. 

And here's the thing…me and Aaron have never really reproduced something and then made it for sale. We generally hand paint original artwork from scratch and then make prints of the paintings for use on signs, die cuts, etc. 

So…we figured...what the heck, let's just offer these adorable templates as a free printable download for all of you guys! 


We suggest that you load your printer with bright white card stock. The heavier weight of the card stock will make the boxes sturdier. You can find the pdf right here. Just print them out…they conveniently come two to a page...and then cut out.


You'll see that there are little flaps that you'll cut just partially, just like on real boxes. These will fold together to secure the ends shut. Once you've got your templates cut, then just fold and crease them along all of the thin black guide lines. Then fold to assemble into boxes, using a bit of glue to secure the tabs to one another. (we used Aleene's Quick Dry Tacky Glue) 


Then to make the garland all you have to do is thread a length of bakers twine along the top of each box, simply closing the lid to secure the twine.


That's it! Your adorable vintage mini mix boxes are ready to hang. We LOVE ours! And yes, now we have two hanging in our home…the original is on a cupboard, and the reproduction printed version is draped across a shelf front in our kitchen. We hope you guys love these! And we would love love love to see pics of how and where you displayed yours…or any other crafty ways that you used your boxes.   (tag us on Instagram! @jennyeveryday) And oh yeah…be sure to thank the wonderful Heidi…and shop 'til you drop at MyPaperCrane! Of course, feel free to share this post with your friends, or on Pinterest!

Happy Crafting!
xo Jenny & Aaron